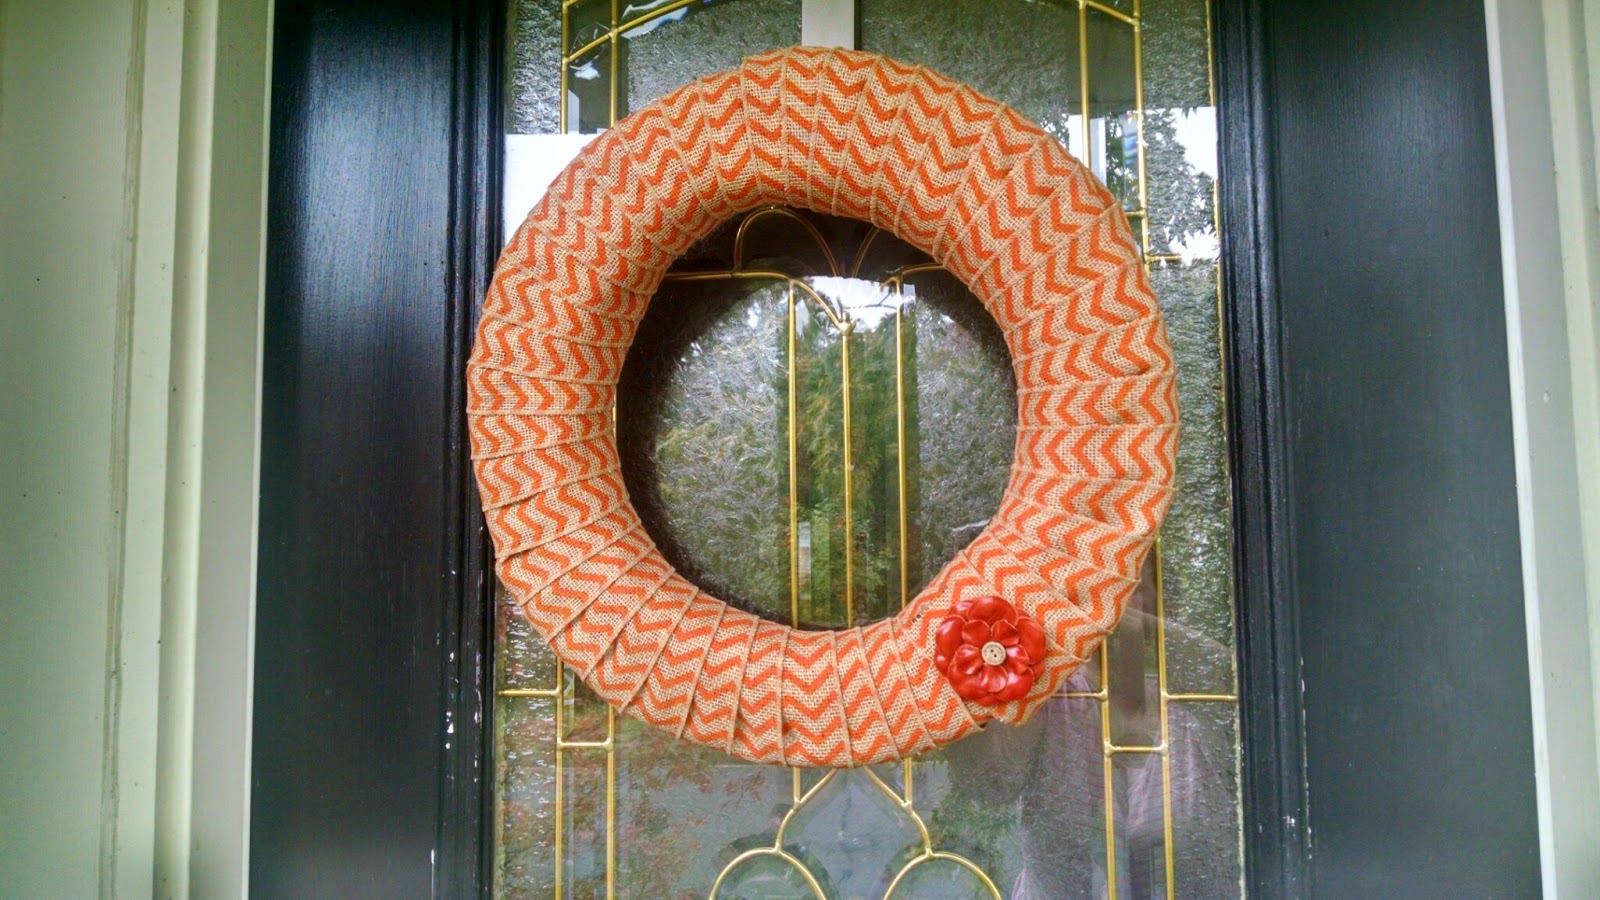
Materials:
- 1 styrofoam wreath - there's a variety of sizes and widths. I went for a larger width on a larger wreath so that the space in the middle wasn't so bare
- 2 spools of wire ribbon burlap with a width between 2-3 inches (each spool was 23 feet long and I used most of it)
- Embellishment for fun and a little bit of character
- Glue gun (low heat glue guns are recommended for styrofoam but mine was just fine with the high heat)
- Glue sticks
- Scissors
Cost: around $20 (I think this could have been much lower if I had timed the craft sales a bit better)
Total Time: 30 minutes
Directions:
- Pick a starting point for your wreath and hot glue the wire ribbon burlap to the styrofoam - I did this on what would be the 'back' of the wreath and did this on an angle to make wrapping a bit easier.
- Wrap the burlap around the wreath in even intervals so that you cannot see through the material and to provide a uniform look to the fabric
- You'll likely need to stop and glue the fabric to hold your place when the first spool runs out. Simply start the next spool on the back of the wreath to continue to cover the entire surface
- Once I was done wrapping the wreath, I decided to make a small hook on the back to put the wreath hanger through. I folded a strip of burlap into thirds, lengthwise, and then made the hook to glue onto the wreath
- Finally, I added an embellishment to the wreath. I'm still not 100% happy with my choice, but I'm hoping that it will grow on me
- Ta-da! One finished wreath!


No comments:
Post a Comment